ridgeline - “NART” / Te37
Author/Photographer: Kai her - May 21st, 2025
Thank you for coming back to another Xplicit Projects series! Since the S2000 has been getting all the spotlight lately, it’s finally time to shift that focus to my 2017 Honda Ridgeline RTL-E aka “NART.” Whatever that means. ***NART = Not a real truck***
I don’t want to bore you with how I obtained the Ridgeline because that’s not that all important, but it was a beautiful Saturday afternoon back in the summer of 2020. I have recently sold off my 1999 Honda Civic CX and with the little amount of money I had, I felt that it was time to get into something a bit bigger and tougher. I mean, money was scarce when you’re building a show car on the side. Anyway, I eventually reached out to various dealerships outside California in anticipation of possibly flying out to check out some potential and worthy Ridgelines. Since that didn’t work out in my favor, after weeks of looking around online, a local Honda dealership listed a used Ridgeline on their site. The Ridgeline sat at about 77,000 miles. The body was straight and it had a clean carfax history with only one owner. The only deterioration I observed was just some wear on the driver seat. It was priced bit higher than what I wanted to pay for one. However, the dealership was only an hour away from me so it didn’t hurt to go see it in person. Aimee and I drove down to the dealership. Test drove it and after much contemplation alongside a few hours of numerous dialogue and negotiation with the salesperson, I became a proud owner of a Honda Ridgeline.
Over the past few years of ownership, the Ridgeline has done nothing but served me well. As it’s NART, it carried out a lot of “trucky” duties beautifully. I towed up a fully loaded 6x12 foot U-Haul cargo trailer carrying all of Aimee and my wedding decorations and supplies to Placerville (near Lake Tahoe) for our wedding. Furthermore, the Ridgeline easily survived our honeymoon road trip around California’s neighboring states, and countless trips towing the S2000 up and down California with ease.
Eventually, like every other vehicle, things begin breaking as the miles rack up. So, instead of getting back into OEM products and sticking to that platform, I thought I’ll do something a little different. That was how this vision came to fruition.

Here is a quick photo of the Ridgeline before the suspension upgrade. I was rolling on 265/70/18’s with a J Sport Leveling 1.5 inch kit. Yes! It was rubbing the s**t out of my frame. I even purchased an axle relocation kit to reposition the front tires closer to the front bumper. In result, the tires still rubbed like crazy. What’s the verdict? Don’t ever do that again and RESEARCH! LOL! I finally made the switch when my passenger front shock gave out.

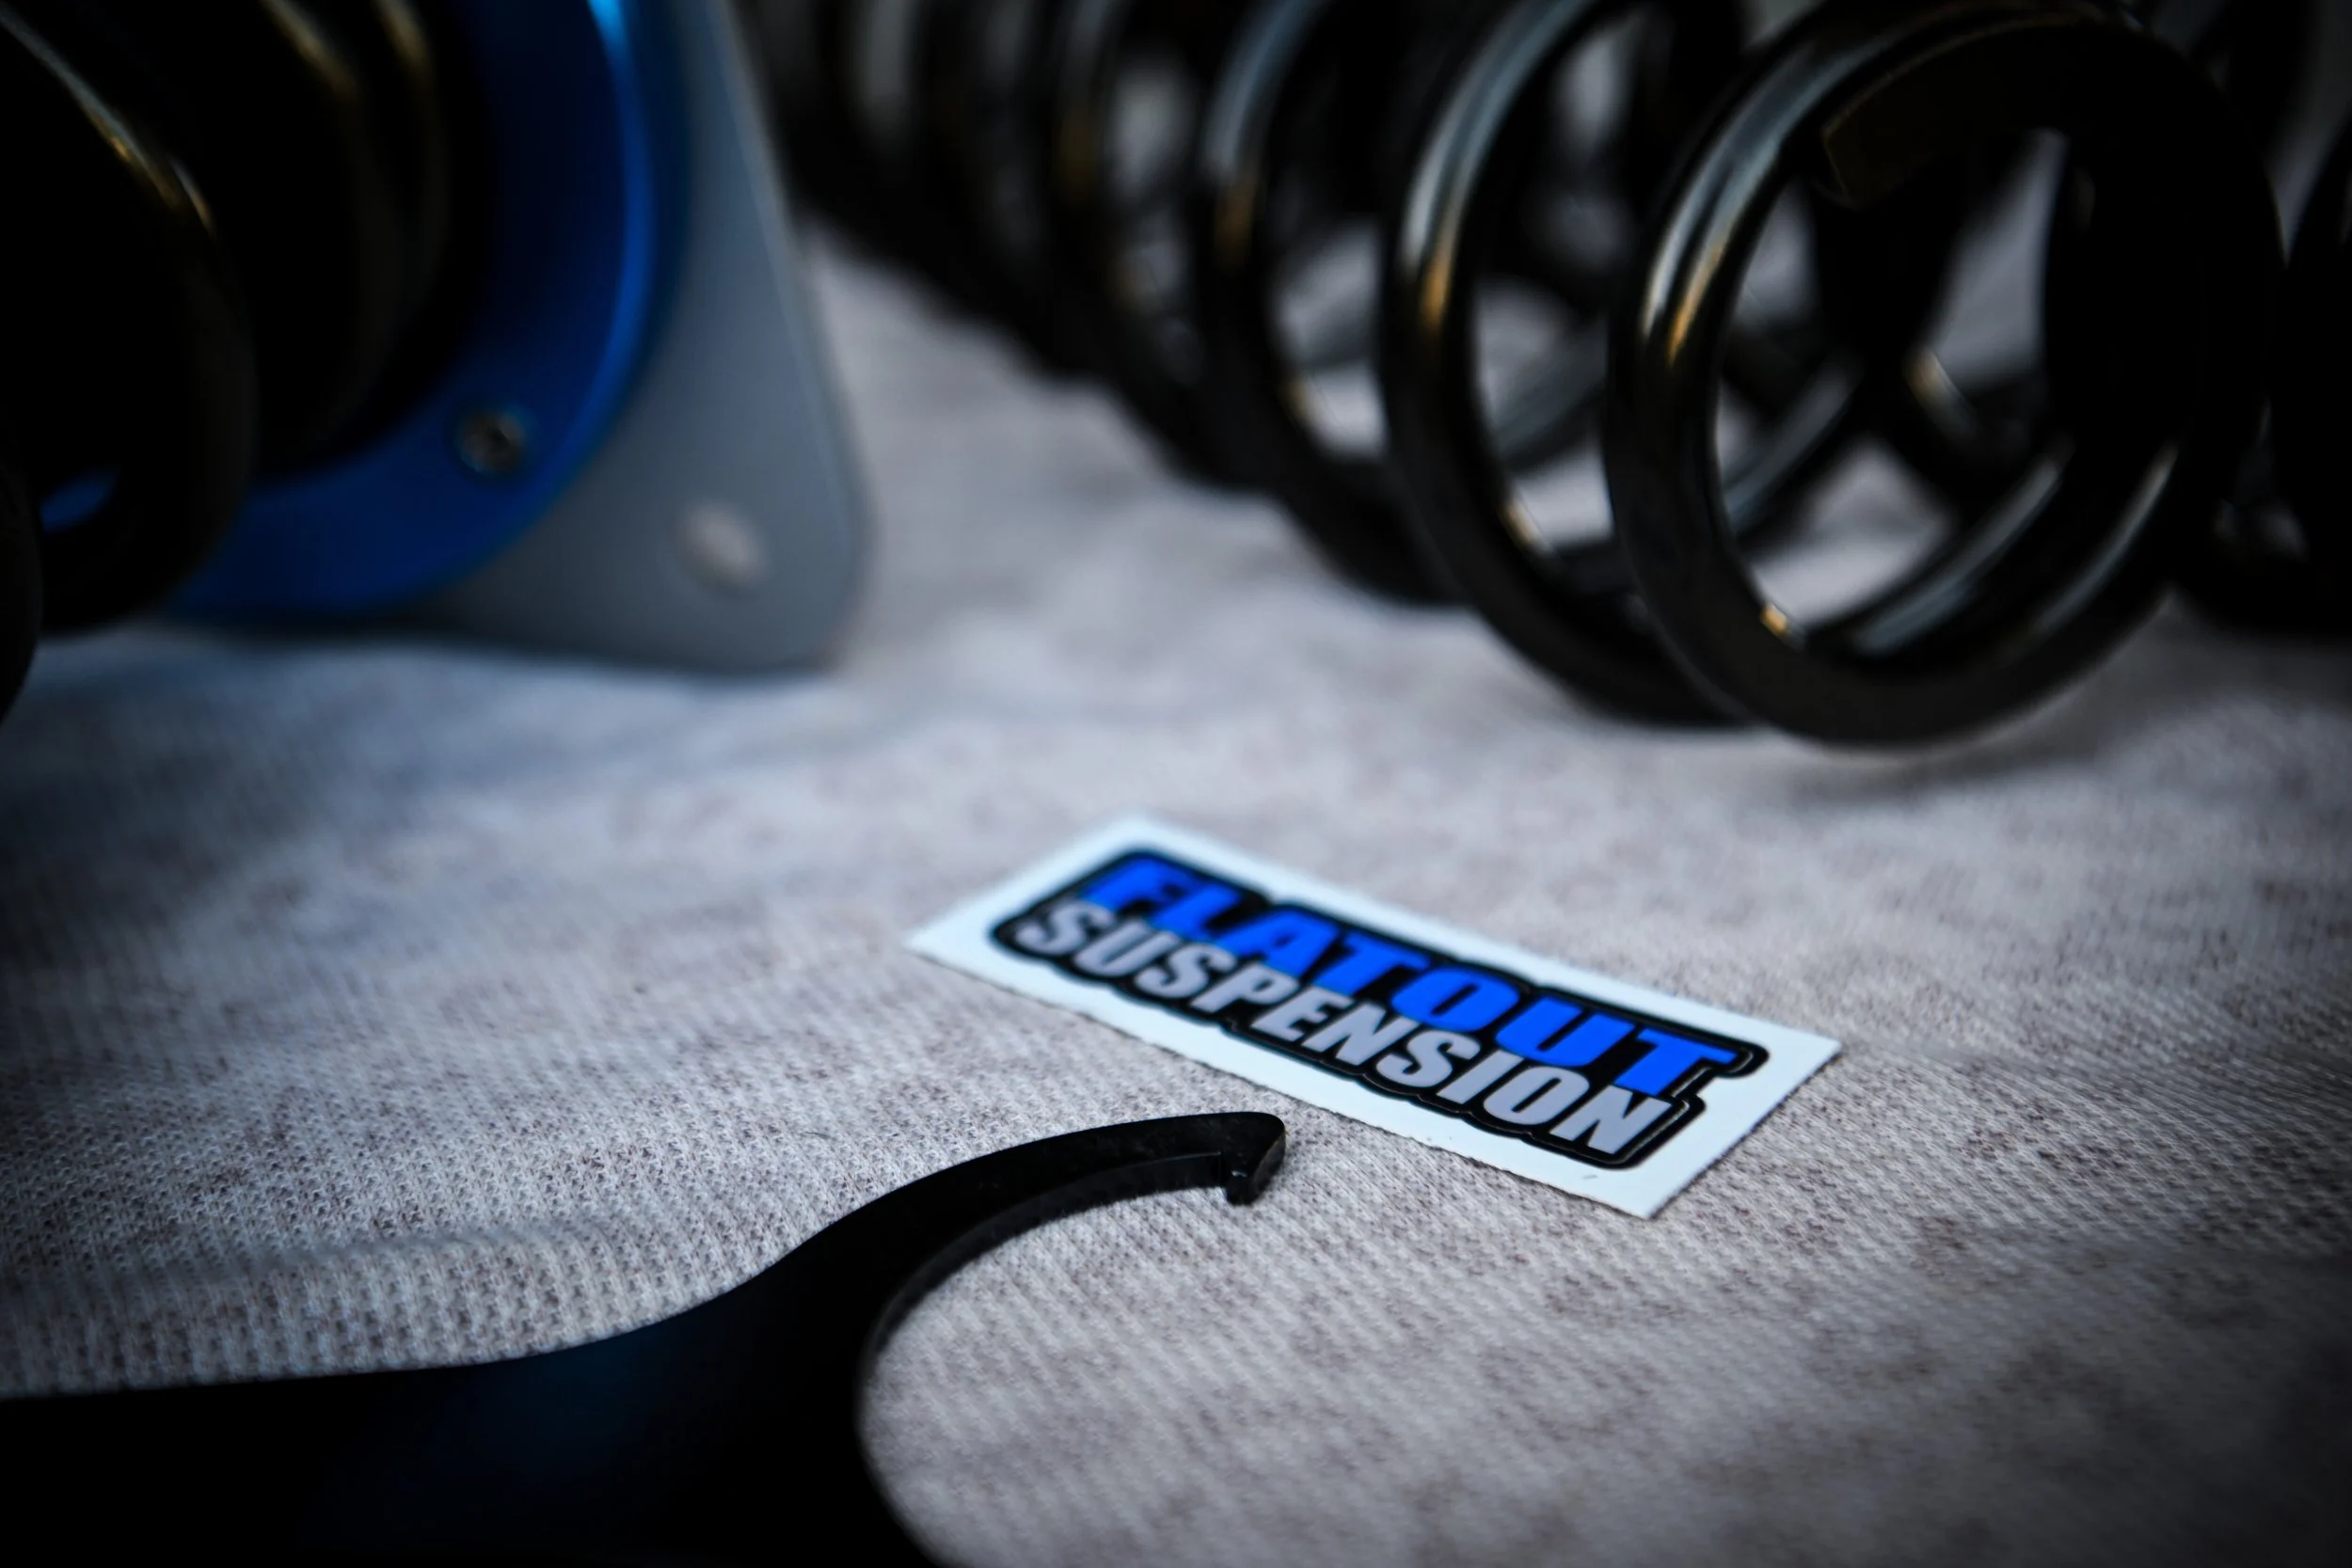
Since the kit was special lyorder, it took Flatout Suspension a month to build me the kit. The month wait expanded to a bit over three months trying to deal with the distributor’s error on my order.
Since it was the final missing piece to the puzzle, upon acquiring the coils, I finally assembled everything I wanted to begin the repair/upgrade process.

Here is a family photo of all the parts I collected for the project (Flatout GR Lite lift coilover kit, Spoon Sport lug nuts, spacers and the Ray’s Volk Te37 in Blast Bronze finish).
Oh! Don’t mind the Civic. I have been gathering much more parts for it than actually assembling the coupe back together. (I need to get back on that build blog/thread and continue providing updates. I have purchased a s**t load of parts for it.)

The lift coil kit came in a silver and anodized blue finish. Reminded me of the Spoon Sport color scheme with the yellow bushing and adjustable coil blue rings.

The adjustable sway bar end links also came in the blue finish. Easy and pleasant to the eye.

With the variety of lug nut choices and colors I have acquired over the years for the S2000, I decided to open up my Spoon Sport anodized blue set of lug nuts to lock the Te37’s in place on the Ridgeline.

One of my favorite thing I like to capture on my camera are wheels! The specs on the Te37’s are 17x9.5 with a 45 offset. It’s an S2000 spec wheel. I wonder why!? LOL
Get ready for some “wheel heaven” photography.

(Te37 SL (Super Lap) - slightly lighter than the OG’s weighing at about 17 lbs. That’s a light 17-inch wheel!

(The Te37’s got its name from how light the wheel is. Te stands for Tuning Evolution (during the golden JDM era) and 37 for only weighing 3.7 kg’s. Equivalent to only 8.15 lbs (15 inch wheel). That’s an amazing feat for an aluminum forged wheel.)

(Rubber choice? That’ easy! Wrapped the Te37’s with some Wildpeak A/T4w’s. Team Falken FTW!)

My wife was courageous enough to get behind my camera and snapped a few photos of me toiling on the Ridgeline. The installation process was quite easy. Separating the ball joints away from the knuckle was effortless. Then, dropping the strut down from the strut tower followed easily as well. However, there’s always going to be some type of hiccup around the process of an installation.

The hiccup was trying to slip the lower control arm ball joint onto the front knuckle. With the lift coil kit being so much longer in length (from top to bottom) compared to an OEM strut, it was difficult to angle the knuckle perfectly for the ball joint to slip right back up onto the knuckle.
It was nearly impossible and after countless trials and attempts, I decided that the best method to tackle this installation problem was to slightly shave down the edges of the ball joint. So, I took out my handy-dandy Wal-Mart Dremel and rounded out the sharp edges encircling the ball joint.

I carefully shaved down the edges and round it off for easier slippage. It didn’t require too much time. Took me a good few minutes to round the edges just a bit. After another attempt, the ball joint slipped right on with little effort.
My ball joint boot is bad! I know! LOL! I just bought a new OEM boot to replace it. Then, applied some grease around the boot and ball joint during the process as well.
Why not just replace the ball joint? That would be a neat idea, if I didn’t have to buy a whole new lower control arm. Honda does not just sell the ball joint by itself. If you want to replace your lower control ball joint, you’ll have to purchase a whole new lower control arm. Then, I’ll also have to cut the arm to reinstall my axle relocation kit as well. I just didn’t have the time and energy on that…for now.

With enough patience and through much physiological meltdowns, you too can install some lift coils onto your YK3. Once the ball joint was able to slip onto the knuckle, everything else was easily installed in the reverse order. Tightened all the bolts down to it’s specific torque spec, adjusted the desirable height and then it was finally time to slap on the new wheels!
If I can recall my height measurements correctly, with the J-Sport Leveling 1.5 lift spacer kit, the truck sat at approximately 20 inches from the center bore to the bottom of the fender. I adjusted the coils and now the Ridgeline’s new measurement is about 22 inches from the center bore to the bottom of the fender.

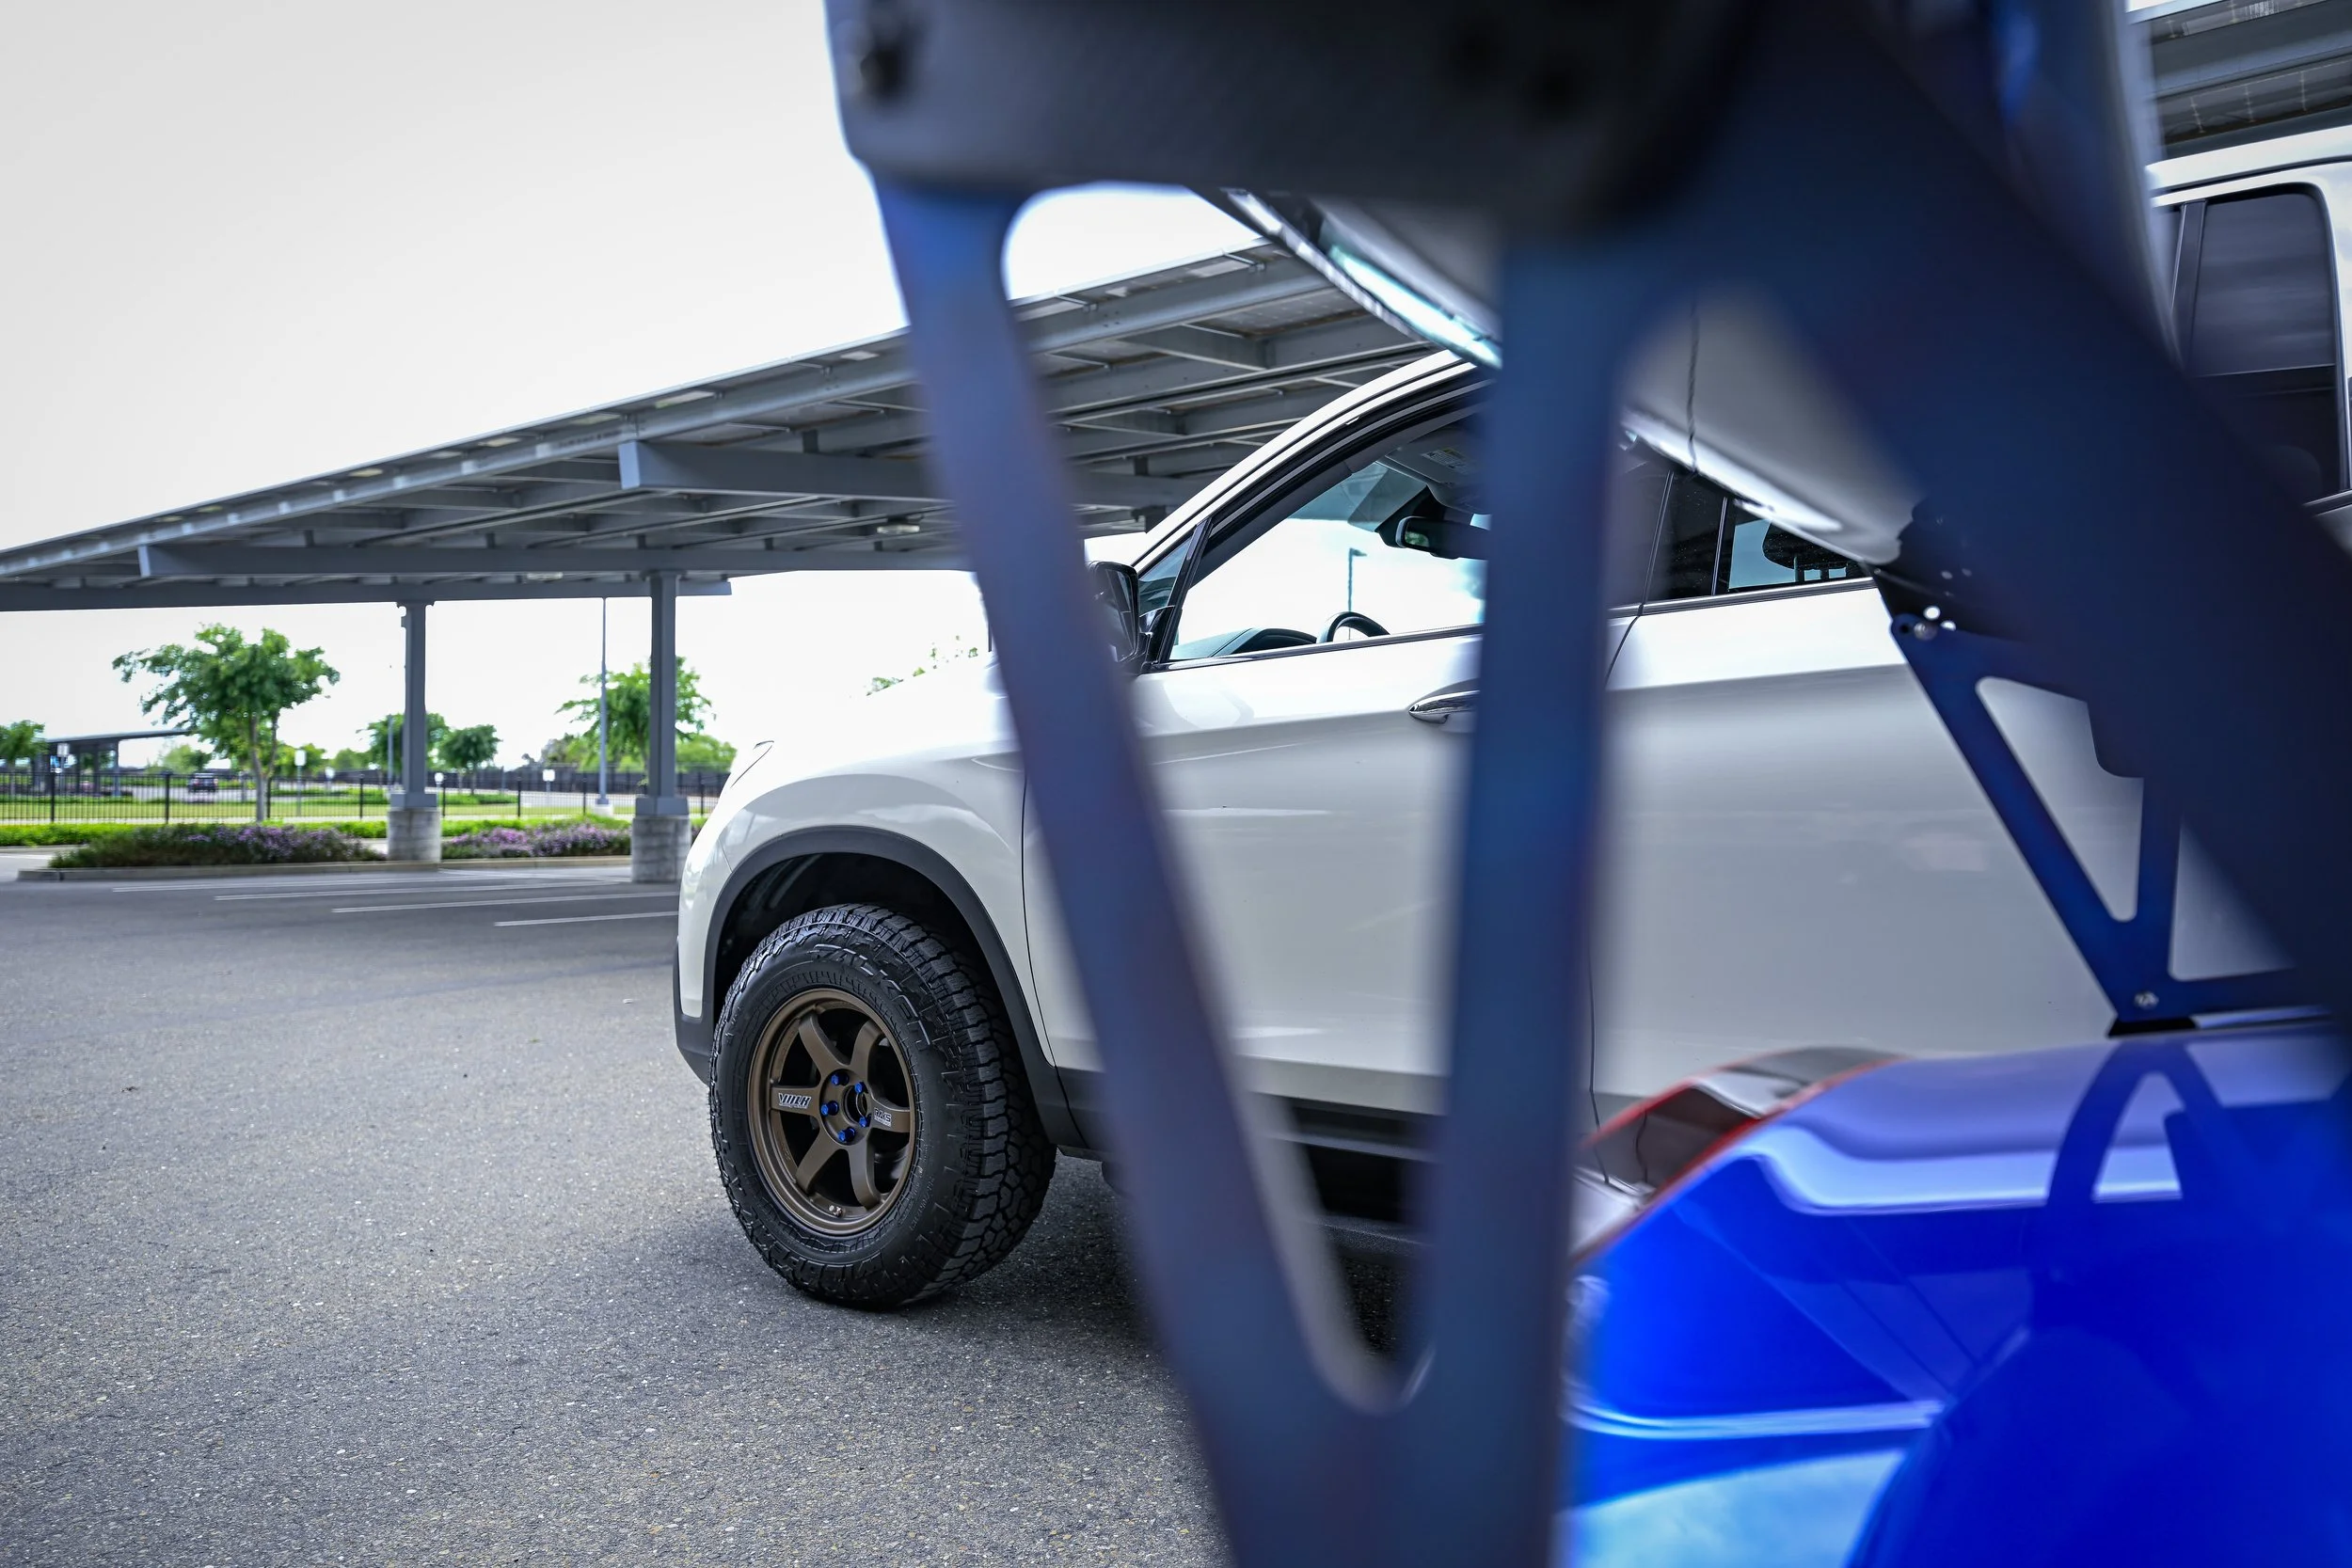
Here it is! The moment you all been waiting for! The spacers helped poke out the tires just a tiny bit and not excessively. The contrast from the bronze to the Diamond Pearl was just as I imagined. The best part!? Well, it’s that I can finally drive comfortably without rubbing onto the frames.

The best of both worlds! One car kissing the ground and the other flying off of it. Thought I should take the S2000 out before I begin toiling with it again before Wekfest.
I couldn’t remember the last time I drove it with the hardtop off; since it was an ideal “topless” weather as well, it only made sense to take it out for a quick drive and snap a few shots of it before parking it back inside the garage.
Oh, and my wife photobombing my photo. It’s alright. She blends right and is a genuine supporter of my car hobbies, so it will only make sense for her to be in the photo as well.

You can easily identify which car I spend much more time with and which one I actually drive more frequently. The S2000 is sitting at 143,xxx miles and the Ridgeline is already well on its way there. (Photo without Aimee this time)

Here’s a rear angle view of the set up. The rear is sitting higher than the front. I’ll need to readjust the front to mirror the rear.

We all already know the best way to run Te37’s are with the OG decals. Nothing beats that!

(A side profile.)

(Falken Wildpeak A/T4w’s - 255/70/17 + Te37 - 17x9.5 +45 = pure satisfaction)

This concludes the blog for this one. My final thoughts are as follows:
The Te37’s look absolutely perfect on the Ridgeline. Honestly, I never had any doubts about this project. I knew from the beginning it was going to come together…one way or another. A big shoutout to my cousin Chueyi for helping me dial in the right tire size to properly fit the Te37’s. I learned my lesson for not asking for a second opinion. And of course, massive thanks to my wife! For being incredibly patient and supportive while I tracked down all the parts needed to get the Ridgeline back in a condition she’d feel confident and comfortable driving again.
All in all, the vision came to life just how I imagined it. Perhaps even better. Thanks for reading! Don’t forget to check out the full gallery for more visuals!